Sunday, October 19, 2014

Orange Creme with Floras


Hello again. This was my first time creating flowers with a freehand. I have to say that this was fairly easy to do! I am excited that this turned out amazingly, and will be sure to incorporate more flowers designs in my nails. Next time, I will be sure to take step-by-step photo tutorials. I basically used to tones of pink and swirled them together while the paint was 50% dry and ta-da! 


Halloween Decals

Boo! Only a few more days until Halloween. I picked up these decal stickers at my local beauty store. When I'm not free handing my own designs, I enjoy using decals! They are a simple way to add intricate designs to you nails and they work like stickers. Decals are simple, easy and do most of the work for you :D. This orange creme base is something I quickly created by combining polishes that were already in my collection! Happy Halloween :)


Wednesday, October 15, 2014

Orange Jelly with Gold Glitter

Happy Fall!

This is another one of my handmade creations made of an orange jelly finish with gold glitter. Perfect for Fall :)


Monday, October 13, 2014

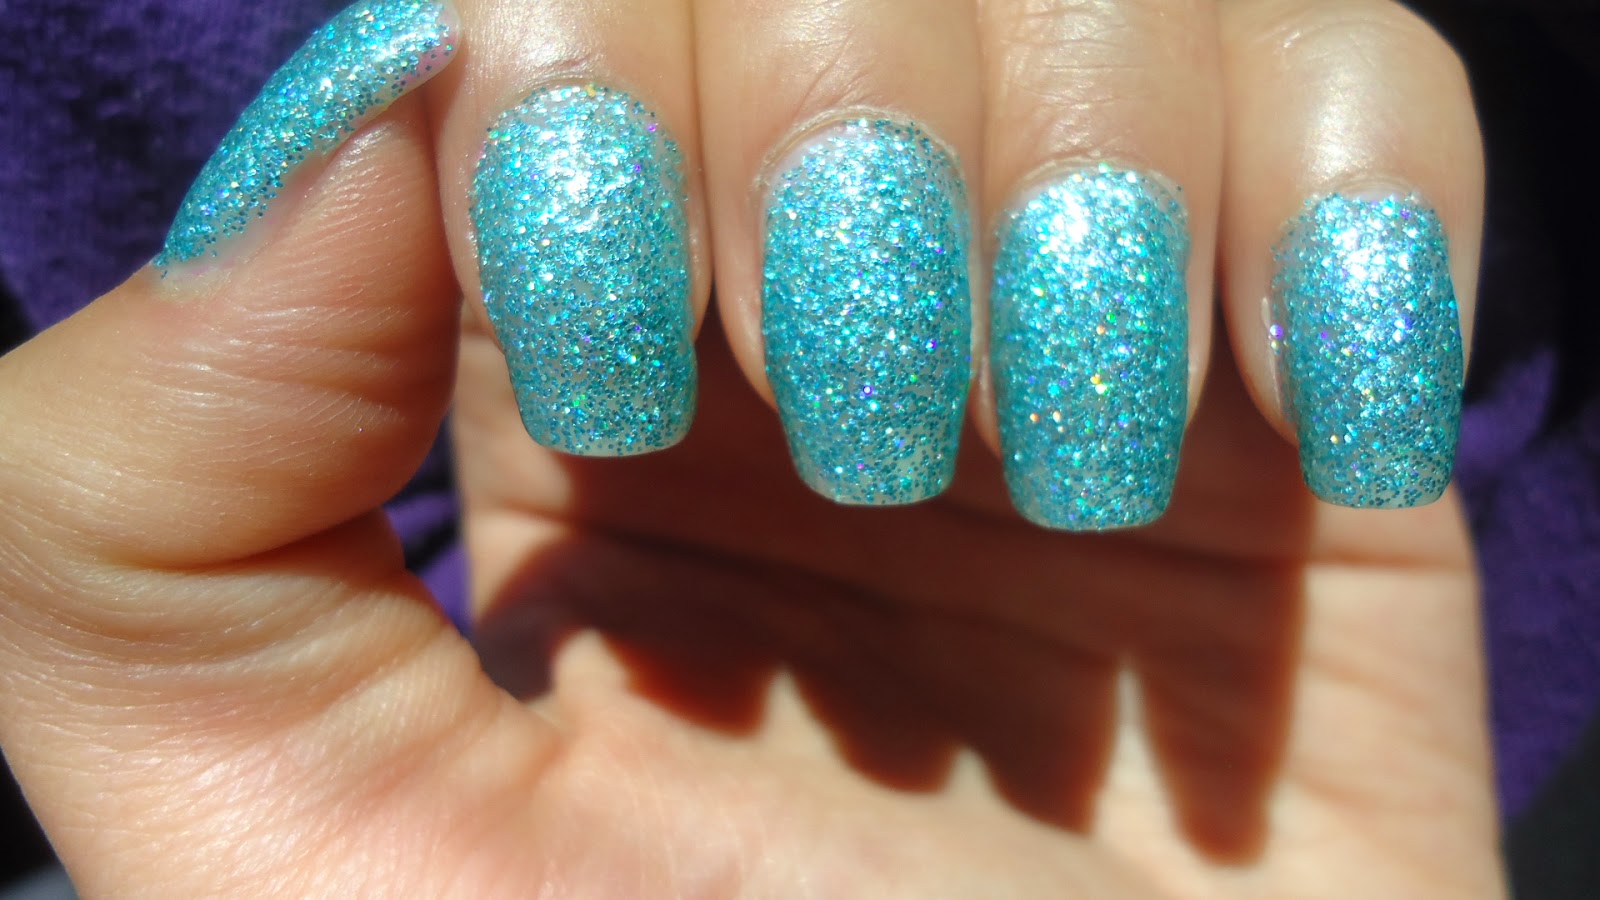
'Famous Beaches'

Made by me. It's not as opaque as I would like. It takes 4-5 coats for complete coverage. I'll let the photos speak for itself. Remember to click on photo to enlarge.


Crackled French Tips

Good Evening! Who's ready for Halloween? This is a black French Tip with pooka dots layered with Crackle Overcoat to give it a spooky vibe. I have to say that I was never a follower of the "Crackle" trend but was given the polish as a gift which has been collecting dust for a year. I decided to crack it open and give it a try and I'm glad I did. The effect is perfect for Halloween.  I loved watching the polish going into action and cracking seconds after applying it. Below is a step- by-step tutorial to achieve this design. While creating this, I did learn a lesson that is helpful for future designs that involve pooka dots and that is to wait a full 5 minutes for the dots to dry before applying a top coat. I impatiently waited a premature 2 minutes for the dots to dry which resulted in smeared pooka dots. As a perfectionist, this is bothersome to me but for this nail look it adds to the overall spookiness. 

This is the complete design

Tools: Crackle Overcoat, Black Polish, and I improvised and used a ballpoint pen to create pooka dots
Step 1: Start with a Wavy, Diagonal Black French Tip
Step 2: Add White Crackle overcoat

Step 3: Using a ballpoint pen dipped in black polish, create a series of black dots


Thanks for visiting!

Saturday, October 11, 2014

Red Jelly Polish with Flakes

Good Evening!

I've been fascinated with jelly finishes lately. Here is my first handmade polish with a high gloss jelly finish. I'll be concocting a different variety of polishes in anticipation of the holiday season! :)


Introducing 'Ah-Ha Nail Lacquer'

Welcome back to my page!

"Take the years when you’re young – say, between the ages of fifteen and thirty-five, before you have a mortgage or kids or anything else that needs to be fed – and go balls out on intuition and follow your dreams." 

As you guys know, I have been experimenting with making my own homemade nail polishes primarily focusing on holographic shades. It's been a rewarding creative outlet for me. I've learned many lessons along the way from ordering empty polish bottles, mixing balls, testing micas/powders, and making my own labels.

I'm excited to introduce my own handmade holographic nail polishes.

Please check out my polishes on my Etsy shop. I would appreciate the support!!

https://www.etsy.com/listing/204567007/holographic-nail-lacquer-green-blue?ref=pr_shop


Photo: Famous Beaches