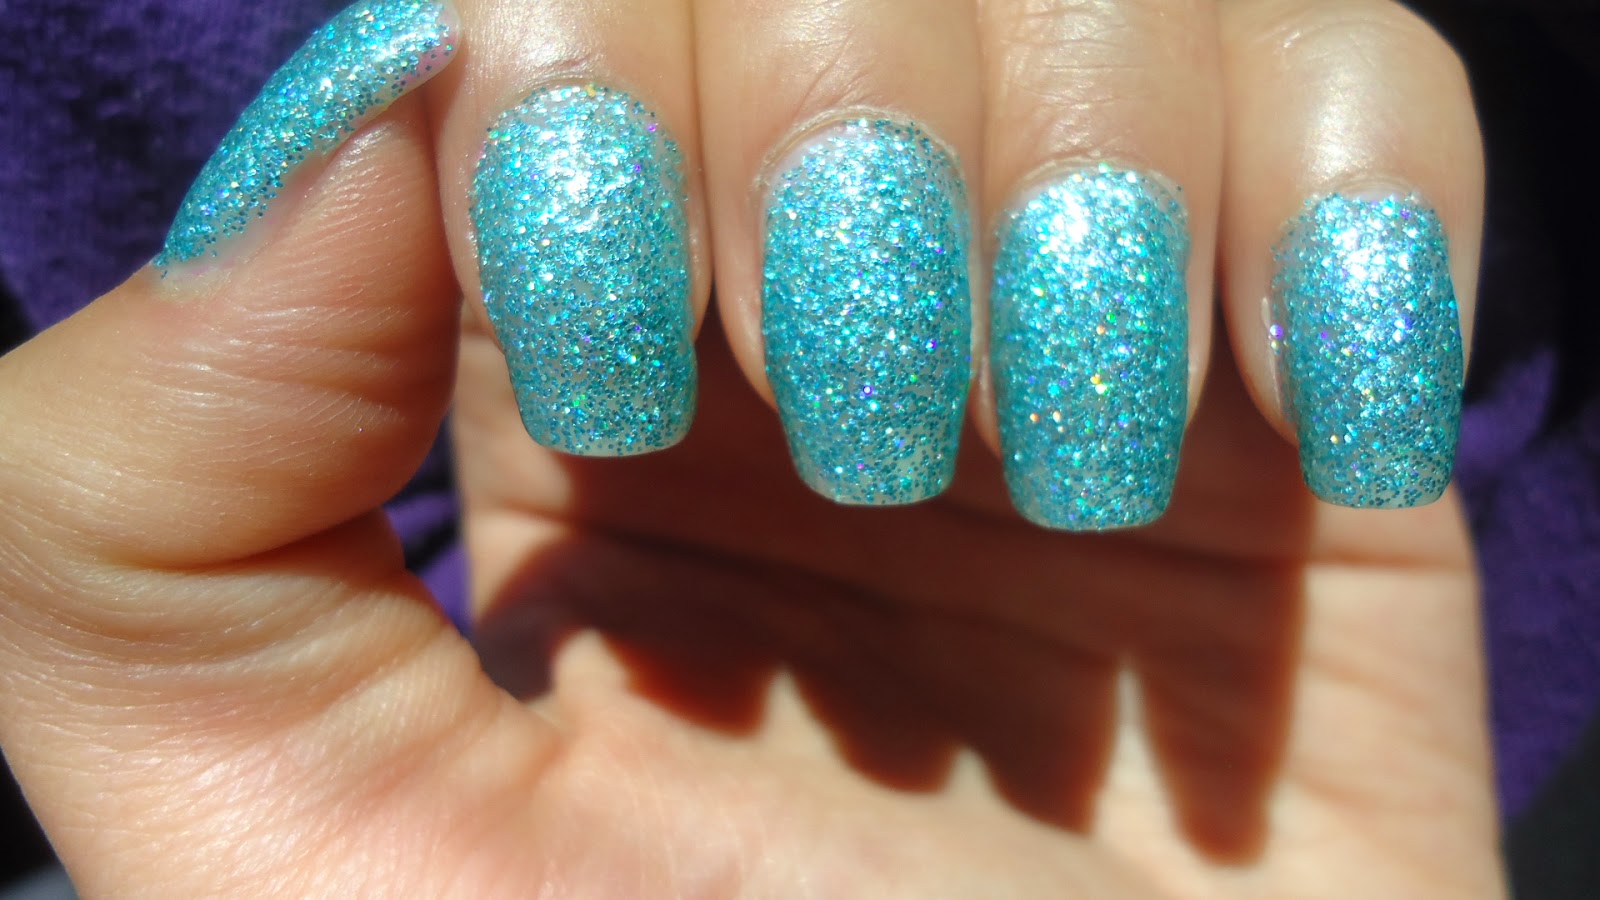
Good Evening! As you know, I make my own polishes, 'Ah-Ha Nail Lacquer'. I thought I would take a moment and share some background info as well as the process I use. Background: I was in the 7th grade when I saw a lady with the prettiest nails. Because of her, I stopped bitting my nails and strived to grow out my own nails. Gradually, I started to paint my nails more often. I've had long natural nails ever since, only getting acrylics once but ripping them off with my teeth one-by-one 3 days later and vowed to stay away from salons. Throughout high school and college, nail art was constantly on my mind and dreams of having a nail polish line. A farfetched dream from a broke college student. Then finally, I graduated college and was left with a unfulfilled emptiness of no longer having to meeting deadlines or turn in papers so started a nail blog and gave myself the assignment of posting every weekend. I really wanted a hobby and something to call my own. I started calling distributers, 'just to see' what it would take to make my own polishes and was set back when I learned that start up costs range from 1k to 5k. I couldn't make the jump yet. Then I purchased a new vehicle-my biggest purchase to date. As much as I appreciate my new car in terms of safety, I wasn't 'thrilled' in the least. After weeks of pondering my dissonant feelings, I told myself, if I could spend X amount of dollars on a car that has little value to me, then I should spend X amount of dollars to do something that I'm passionate about. I jumped the gun. On the behalf of big corporate banks, I am able to make my jumpstart my own nail polish line :)
How did I come up with a name for my line? Easy, the initial of my first name and my last name.
How do you make your own polishes? There is no set way. I wish I had one formula to guide me but I mainly work on trial and error (I've had to toss many bottles that didn't come out to par). I work with 4-5 liquid chemicals-thinner and thickeners-all toxic-free. Although, my solutions are toxic-free of the 5 most potent toxins known in cosmetics, they are still dangerous chemicals and need to be handled with caution.
(I should probably mention that Ah-Ha didn't start off as a toxic-free nail polish venture until I started getting sick off of toluene fumes, which made me do more research..)
I always wear protective clothing and a professional grade respirator gas mask. Chemicals can be absorbed through the skin and cause poisoning. From there, there are hundreds of mica powders and glitters. I order empty bottles, mixing balls, etc. separately. I even design and print my own labels and superglue each one. It's a ton of work and I usually stay up late on most nights after coming home from my day job to work on what I'm really passionate about :)
WARNING: Please to not attempt at home!
 |
| Supplies. |


