Monday, October 27, 2014

Inside Ah-Ha Nail Lacquer

Good Evening! As you know, I make my own polishes, 'Ah-Ha Nail Lacquer'. I thought I would take a moment and share some background info as well as the process I use.  Background: I was in the 7th grade when I saw a lady with the prettiest nails. Because of her, I stopped bitting my nails and strived to grow out my own nails. Gradually, I  started to paint my nails more often. I've had long natural nails ever since, only getting acrylics once but ripping them off with my teeth one-by-one 3 days later and vowed to stay away from salons. Throughout high school and college,  nail art was constantly on my mind and dreams of having a nail polish line. A farfetched dream from a broke college student. Then finally, I graduated college and was left with a unfulfilled emptiness of no longer having to meeting deadlines or turn in papers so started a nail blog and gave myself the assignment of posting every weekend.  I really wanted a hobby and something to call my own. I started calling distributers, 'just to see' what it would take to make my own polishes and was set back when I learned that start up costs range from 1k to 5k.  I couldn't make the jump yet. Then I purchased a new vehicle-my biggest purchase to date. As much as I appreciate my new car in terms of safety, I wasn't 'thrilled' in the least. After weeks of pondering my dissonant feelings, I told myself, if I could spend X amount of dollars on a car that has little value to me, then I should spend X amount of dollars to do something that I'm passionate about.  I jumped the gun. On the behalf of big corporate banks, I am able to make my jumpstart my own nail polish line :)

How did I come up with a name for my line? Easy, the initial of my first name and my last name. 

How do you make your own polishes? There is no set way. I wish I had one formula to guide me but I mainly work on trial and error (I've had to toss many bottles that didn't come out to par).  I work with 4-5 liquid chemicals-thinner and thickeners-all toxic-free. Although, my solutions are toxic-free of the 5 most potent toxins known in cosmetics, they are still dangerous chemicals and need to be handled with caution.
(I should probably mention that Ah-Ha didn't start off as a toxic-free nail polish venture until I started getting sick off of toluene fumes, which made me do more research..)
 I always wear protective clothing and a professional grade respirator gas mask. Chemicals can be absorbed through the skin and cause poisoning. From there, there are hundreds of mica powders and glitters. I order empty bottles, mixing balls, etc. separately. I even design and print my own labels and superglue each one. It's a ton of work and I usually stay up late on most nights after coming home from my day job to work on what I'm really passionate about :)

WARNING: Please to not attempt at home!


Supplies.

Nude Polish Halloween Decals


BOO! My computer is being chaotic tonight so this is a short entry. Just something simple with nail stickers. Have a Happy Halloween :)


Sunday, October 19, 2014

Orange Creme with Floras


Hello again. This was my first time creating flowers with a freehand. I have to say that this was fairly easy to do! I am excited that this turned out amazingly, and will be sure to incorporate more flowers designs in my nails. Next time, I will be sure to take step-by-step photo tutorials. I basically used to tones of pink and swirled them together while the paint was 50% dry and ta-da! 


Halloween Decals

Boo! Only a few more days until Halloween. I picked up these decal stickers at my local beauty store. When I'm not free handing my own designs, I enjoy using decals! They are a simple way to add intricate designs to you nails and they work like stickers. Decals are simple, easy and do most of the work for you :D. This orange creme base is something I quickly created by combining polishes that were already in my collection! Happy Halloween :)


Wednesday, October 15, 2014

Orange Jelly with Gold Glitter

Happy Fall!

This is another one of my handmade creations made of an orange jelly finish with gold glitter. Perfect for Fall :)


Monday, October 13, 2014

'Famous Beaches'

Made by me. It's not as opaque as I would like. It takes 4-5 coats for complete coverage. I'll let the photos speak for itself. Remember to click on photo to enlarge.


Crackled French Tips

Good Evening! Who's ready for Halloween? This is a black French Tip with pooka dots layered with Crackle Overcoat to give it a spooky vibe. I have to say that I was never a follower of the "Crackle" trend but was given the polish as a gift which has been collecting dust for a year. I decided to crack it open and give it a try and I'm glad I did. The effect is perfect for Halloween.  I loved watching the polish going into action and cracking seconds after applying it. Below is a step- by-step tutorial to achieve this design. While creating this, I did learn a lesson that is helpful for future designs that involve pooka dots and that is to wait a full 5 minutes for the dots to dry before applying a top coat. I impatiently waited a premature 2 minutes for the dots to dry which resulted in smeared pooka dots. As a perfectionist, this is bothersome to me but for this nail look it adds to the overall spookiness. 

This is the complete design

Tools: Crackle Overcoat, Black Polish, and I improvised and used a ballpoint pen to create pooka dots
Step 1: Start with a Wavy, Diagonal Black French Tip
Step 2: Add White Crackle overcoat

Step 3: Using a ballpoint pen dipped in black polish, create a series of black dots


Thanks for visiting!

Saturday, October 11, 2014

Red Jelly Polish with Flakes

Good Evening!

I've been fascinated with jelly finishes lately. Here is my first handmade polish with a high gloss jelly finish. I'll be concocting a different variety of polishes in anticipation of the holiday season! :)


Introducing 'Ah-Ha Nail Lacquer'

Welcome back to my page!

"Take the years when you’re young – say, between the ages of fifteen and thirty-five, before you have a mortgage or kids or anything else that needs to be fed – and go balls out on intuition and follow your dreams." 

As you guys know, I have been experimenting with making my own homemade nail polishes primarily focusing on holographic shades. It's been a rewarding creative outlet for me. I've learned many lessons along the way from ordering empty polish bottles, mixing balls, testing micas/powders, and making my own labels.

I'm excited to introduce my own handmade holographic nail polishes.

Please check out my polishes on my Etsy shop. I would appreciate the support!!

https://www.etsy.com/listing/204567007/holographic-nail-lacquer-green-blue?ref=pr_shop


Photo: Famous Beaches

'Viola Vineyard' Holographic Purple Polish

Photo: "Viola Vineyard". Named after my college friend. Facebook downplayed the sparkles and  quality of this photo but here it is nonetheless.
Love making holographic polishes!!!!


"Strut Your Stuff" by Essie!

Hi There!

Loving this vibrant sky blue by Essie. Photo: "Strut Your Stuff" by Essie! Thank you to Kenya Mizzell for the thoughtful birthday gift :)

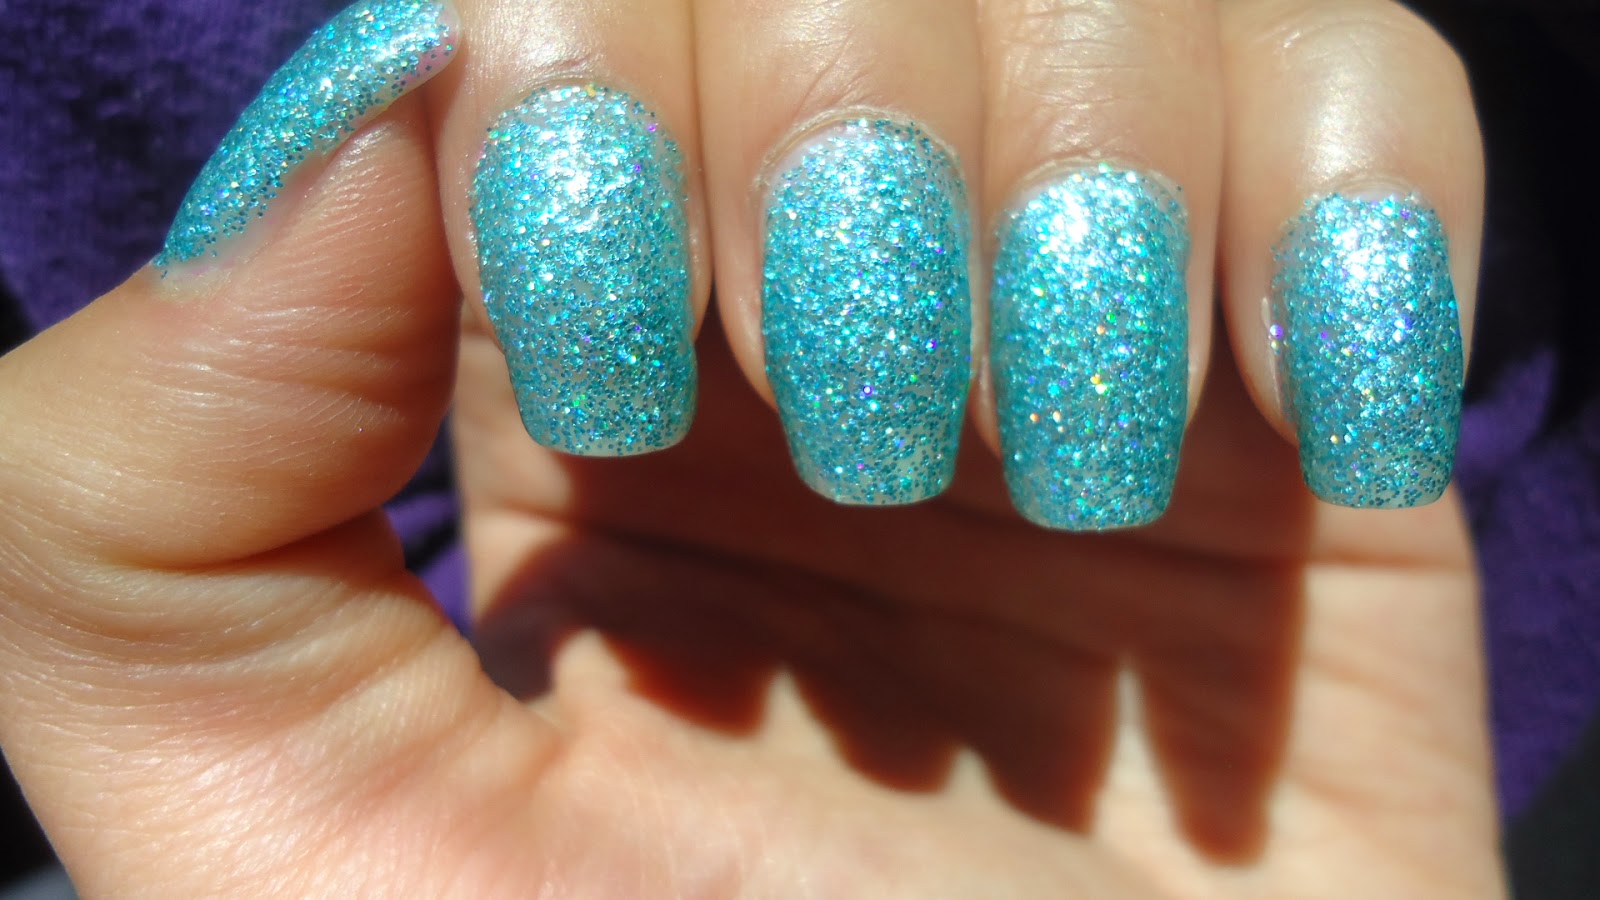
'Tinker Dust' (Handmade Holographic Green Polish)

I'm excited to been experimenting with making high glitter polishes! This polish has a lime green made with glitters that reflect a rainbow of colors in the sunlight.


Photo: Holo!


Photo: Holographic Green polish that I made :D

'For Audrey' by China Glaze

'For Audrey' by China Glaze. One of my favorite shades of all time. Reminds me the blue waters of Miami Beach! 
Photo: 'For Audrey' by China Glaze. One of my favorite shades of all time. Reminds me of Miami Beach!

Black French Tip

Photo: Black French Tip.

'Blue Moon' (Handmade Polish)

Welcome back!! I handmade this muted blue color. I'm calling this one Blue Moon. Top: Creme finish. Bottom: Matte top coat. Which do you prefer?

Rosa-Ha (Handmade Polish)

Hello Again!!

I've been experimenting with making my own nail polishes. This is another one of my creations. This is a watermelon pink color with a jelly finish meaning that it takes about 3 coats to achieve a translucent, high gloss color. I'm calling this one 'Rosa-Ha'  
Photo: Sneak peak at mixing.
Sneak peak at mixing. 
Photo: Another one of my creations. This is a watermelon pink color with a jelly finish meaning that it takes about 3 coats to achieve a translucent, high gloss color. I'm calling this one 'Rosa-Ha' ;) (It's a inside joke)

French Tip with 3D Bow

Photo: Subtle French Tips with 3D bow :) Happy Friday!